Over the last few years, I’ve rediscovered my love of cross stitching. Below you’ll find 15 tips & tricks that I want to share with you, whether you are brand new to the art of cross stitching or you’ve been cross stitching most of your life. Wherever possible, I’ve included links for you to find the sites and products that I suggest.
#1 Use Great Needles
Though the rest of these tips aren’t in any particular order, this one is my absolute number one tip. Until just recently, I was unaware how the quality of my needle would affect my cross stitching enjoyment. Inexpensive needles tend to lose their sheen after a few hours of stitching, which makes them drag through the fabric. On the other hand, needles like those from Bohin stay shiny and smooth even after 100 hours of use. There are a variety of sizes, and my favorites are size 26 (for 16- or 18-count fabric) and size 24 (for 14-count).
Q-Snaps
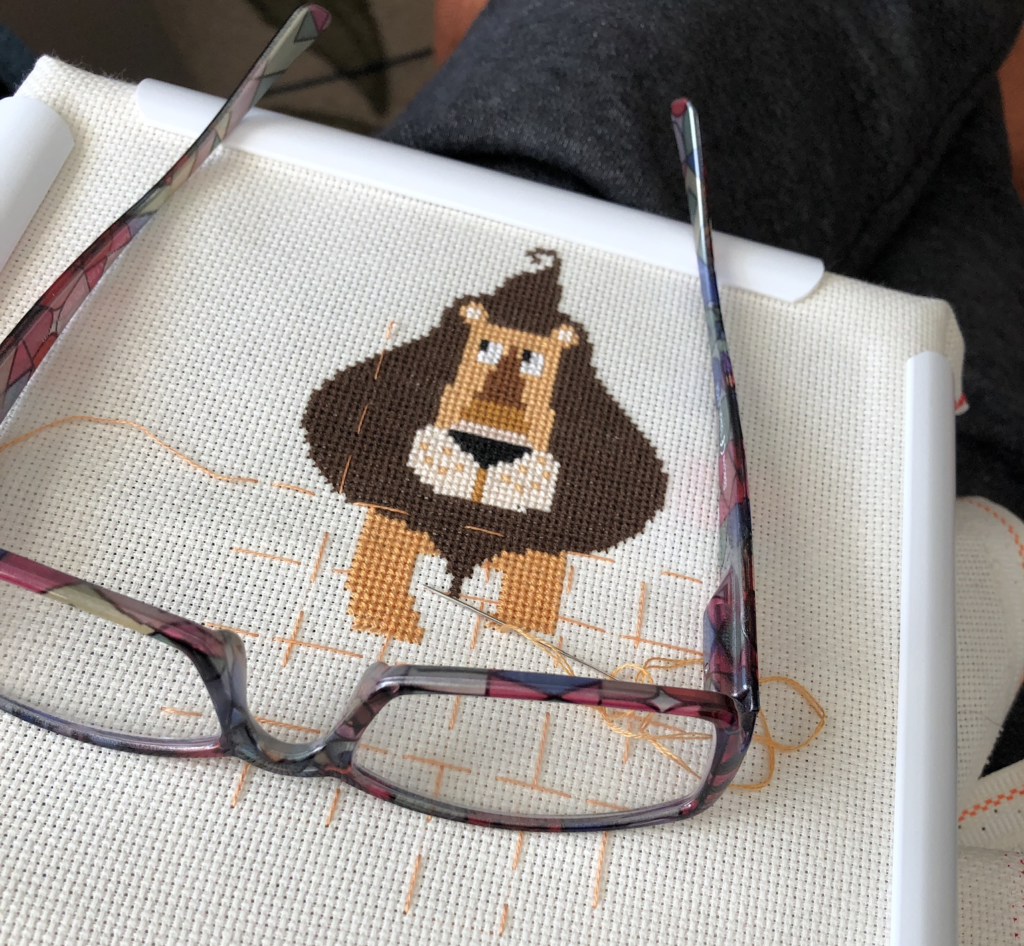
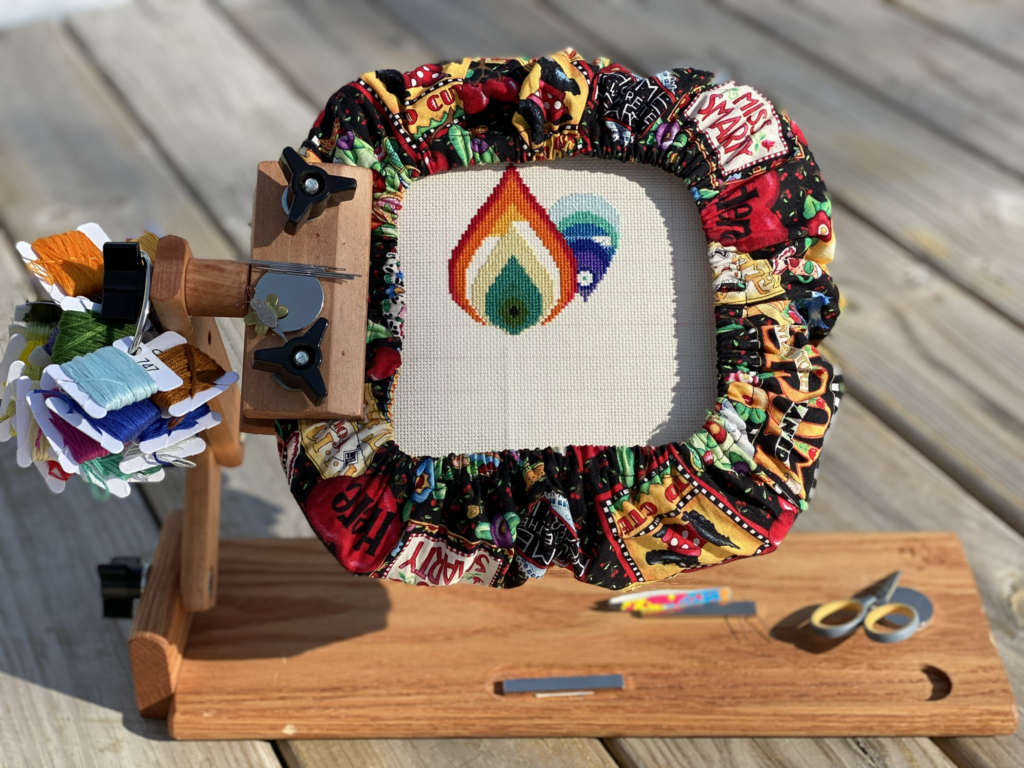
Like most cross stitchers, I started out using a simple hoop with an adjustment screw for making sure the fabric stays tight for stitching. Now I use Q-Snaps, a tube and clamp frame. I find that these hold the fabric even tighter, which I love. Sometimes when they are, they even hold TOO well. I discovered that sliding the grippers off of an end is much easier than trying to pull them straight off.
After using my first Q-Snap for about a year, I noticed that the grippers were a little looser than they used to me. To fix this, I just cut four 2″x4″ rectangles of white felt, and placed the felt between the grippers and the fabric. Problem solved.
Make a Grime Guard
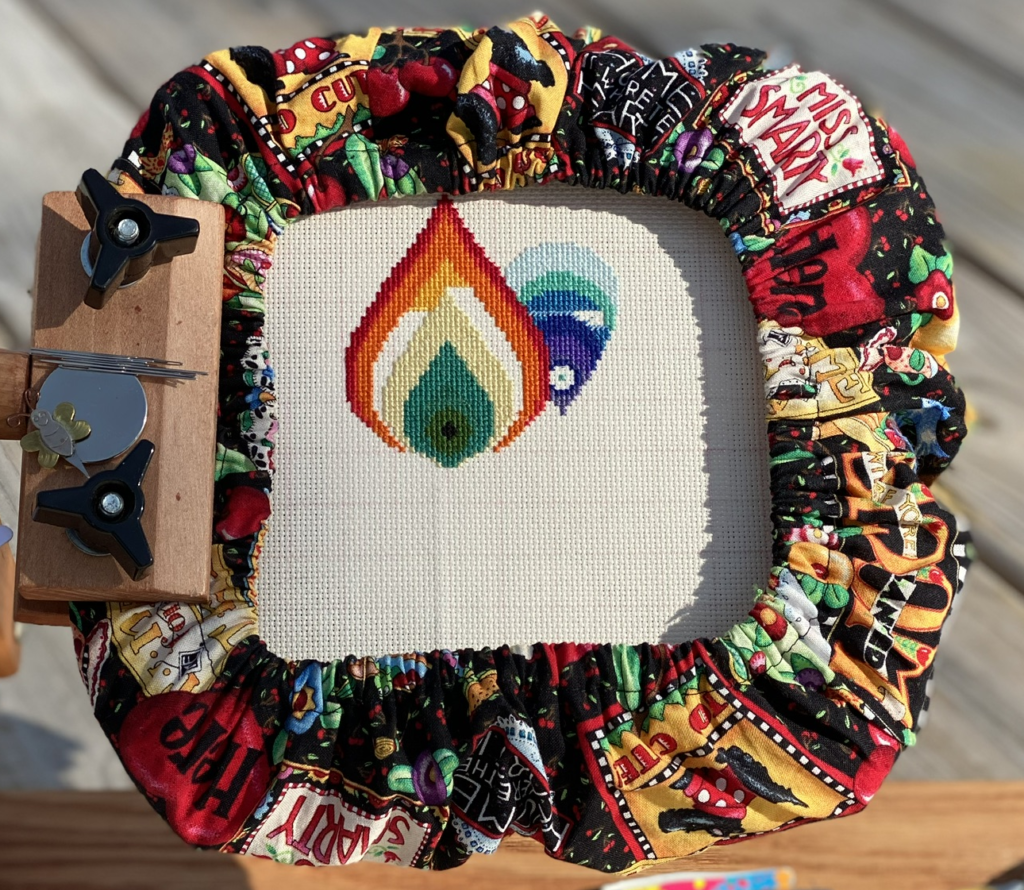
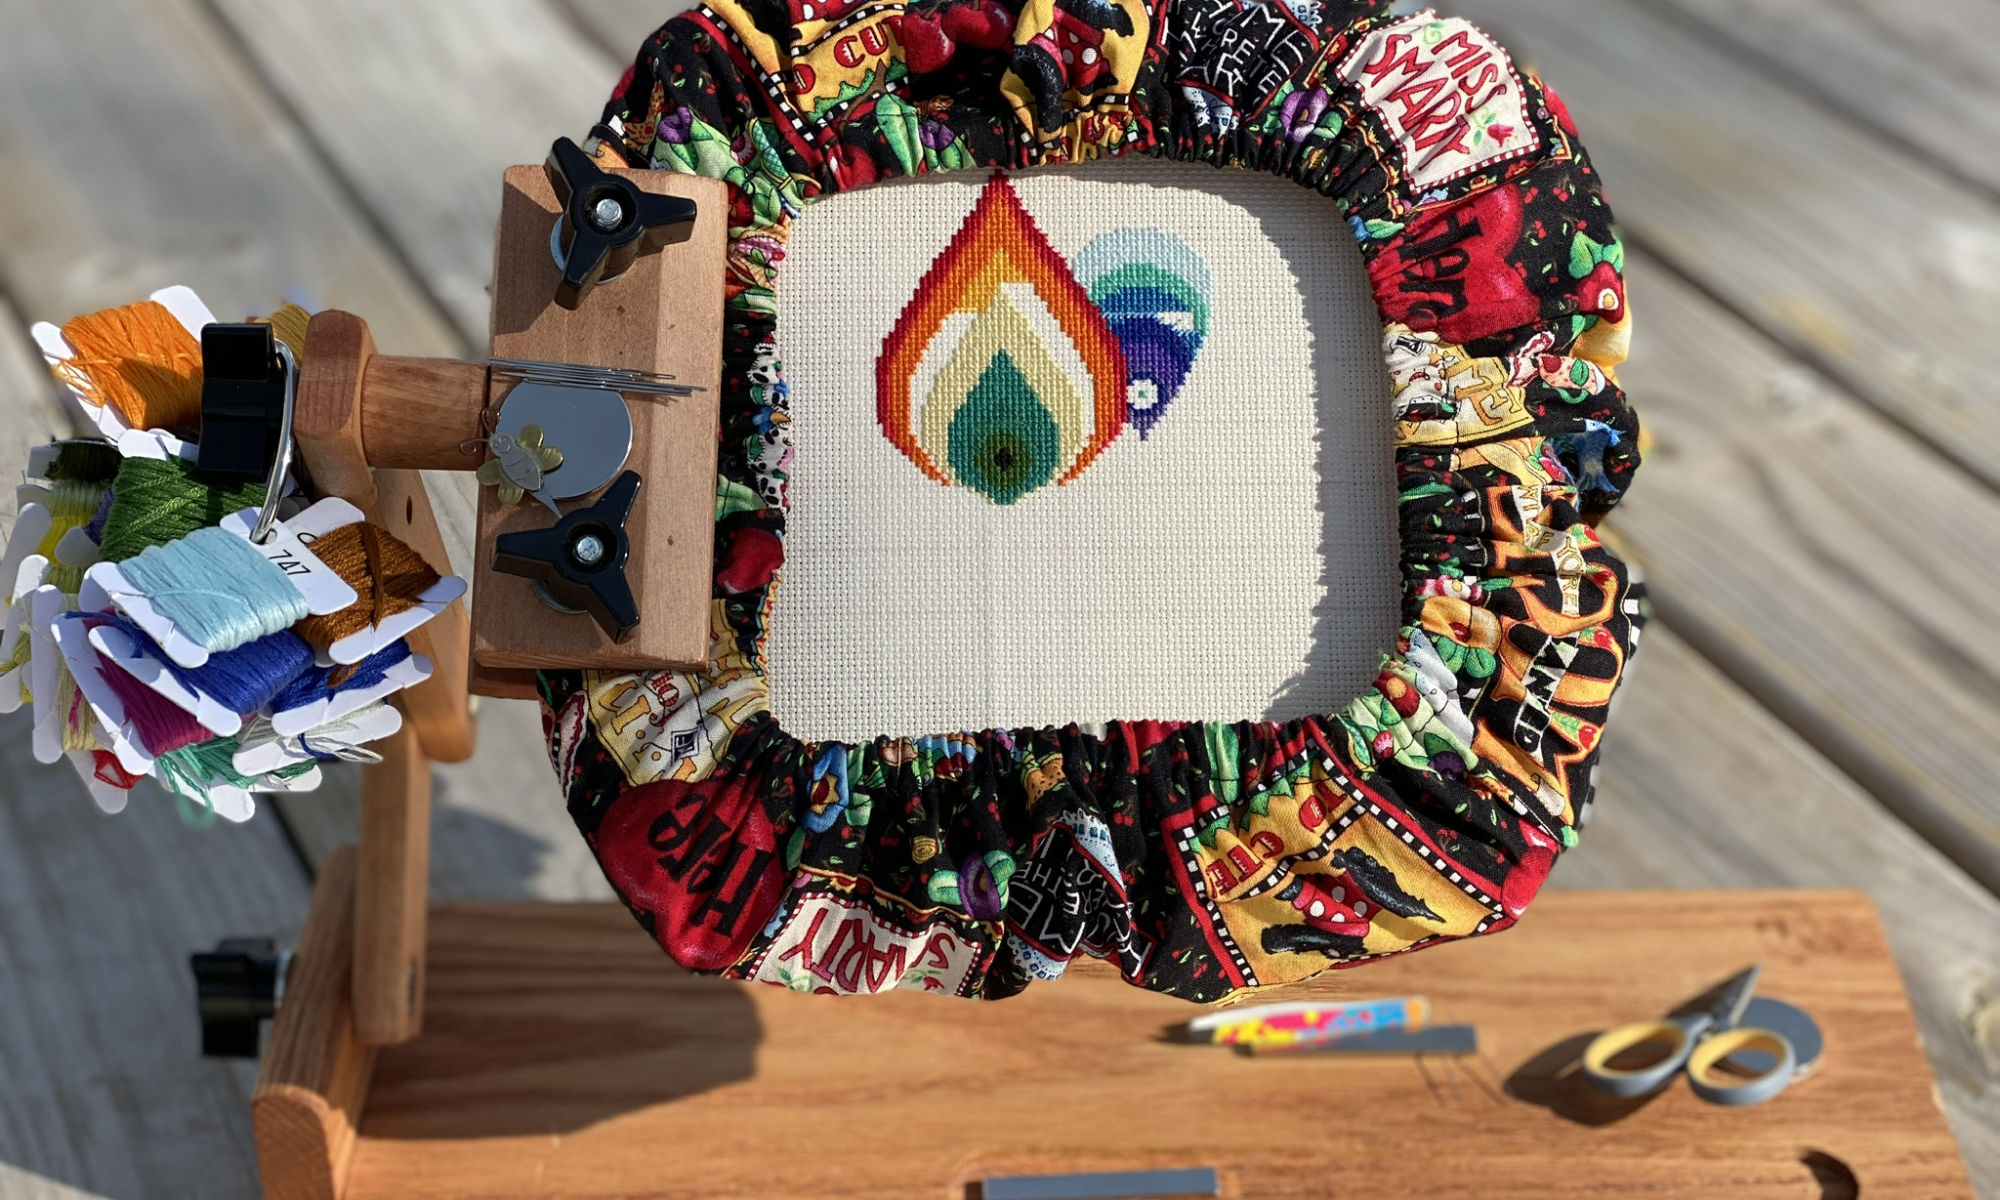
To keep my fabric clean while I am stitching, I make grime guards. Grime guards go around the edge of your Q-Snap or hoop to protect your fabric from, well, grime.
The directions I used to make this grime guard are from Thread Bare.
Match Colors Easily

If you are trying to determine what color floss to use for a custom project, try this DMC Color Picker. You upload a photo or graphic, then use the picker tool to show you what color a specific area is. You can also enter the RGB color values, and it will show you which color DMC most closely matches. I’ve used this tool often when designing a chart based on a customer’s logo.
Purchase Floss Inexpensively
Years (and years and years) ago, I used to own all the DMC colors, thanks to an anniversary gift from my hubby. But four kiddos and a dozen moves later, I was only able to find one of my boxes of floss. One Facebook cross stitch group I am a part of recommended trying out CXC floss, which has color numbers that match DMC, but are a fraction of the cost. I figured, what the heck? Let’s try it out. And for $.08 a skein (instead of ~$.50 a skein), I purchased 250 colors from Factory-Shop on Aliexpress, and it cost just $28.00. I find the CXC quality to be just about the same as DMC, and for some colors, it’s even better.
Bobbinate
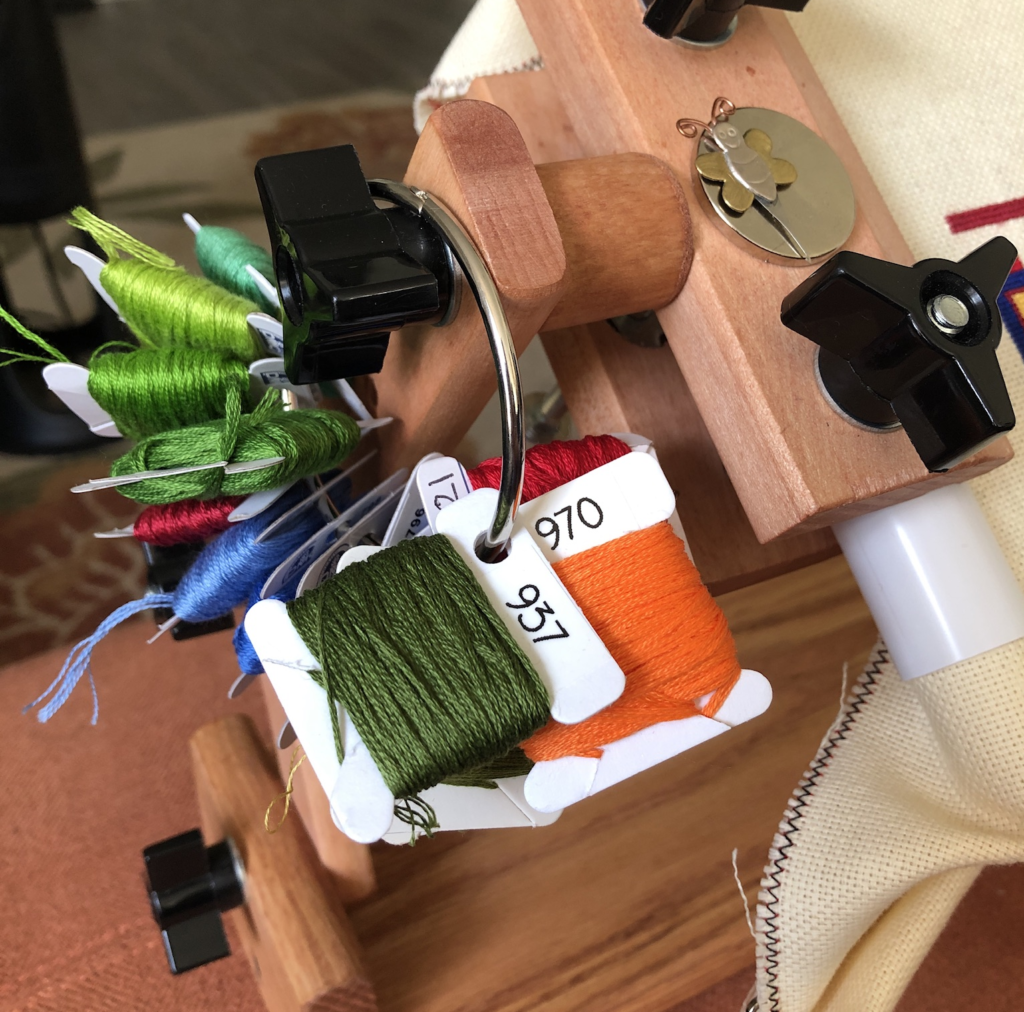
There are a variety of ways to organize your floss, and my preferred method is to wind the floss around cardboard or chipboard bobbins. I like being able to put all the colors for a project on a split ring to keep them in numerical order. (This also makes it easier when it’s time to return the bobbins to my stash for the next project.) DMC used to make cardboard bobbins that were sturdy and easy to write on with a pen or Sharpie. The newer DMC cardboard bobbins are super flimsy and bend easily. And DMC’s plastic bobbins have two problems: I can’t get any type of pen at all to write the numbers on them without rubbing off, and the slit for the floss tail is so wide that the floss keeps unwinding on its own.
The bobbins I now use are Floss Keys from Crazy Annie’s Stitchin on Bonanza. They are made of chipboard (thick cardboard) and have the hole for split-ring storage on the side. Having the hole on the side makes it easier to write on, especially if you have like large handwriting like me. The tail of the floss stays tucked in nicely, too.
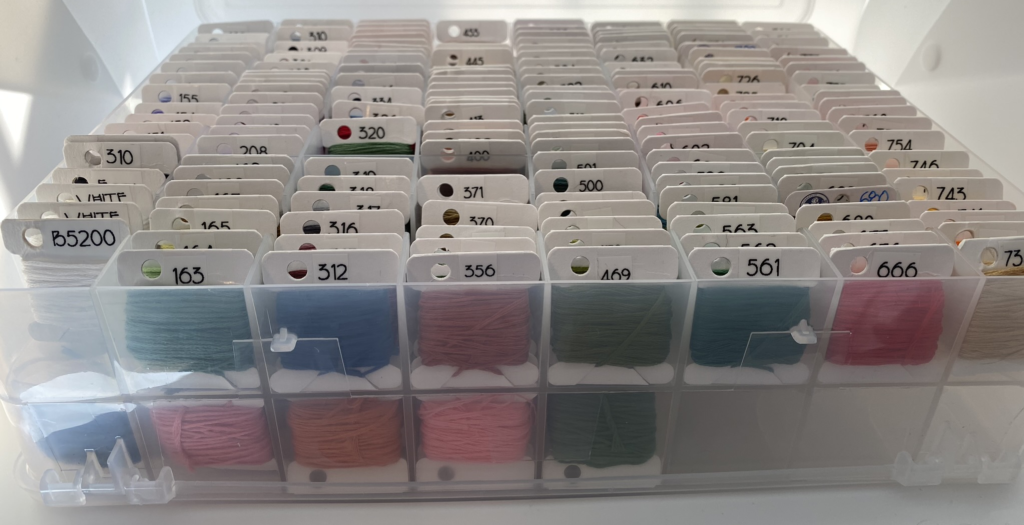
I store my bobbins in double-sided boxes, and my complete set of DMC/CXC colors fits easily in two $14 Creative Options 5315 Thread Organizer boxes. Note: to make the floss keys fit nicely, you need to lean your bobbins back just a wee bit, as the lid won’t close if they are perpendicular.
Oh, and to number my bobbins, I used my Brother P-Touch Cube Smartphone Label Maker. I like this model because it lets me upload my own fonts for the labels. And it makes it easy to save my labels so I can do another printout for a friend quickly and easily at a later time.
Keep Track of Your Floss Colors
Before I had a full set of floss, I would often purchase a color while I was out at Jo-Ann or Michael’s, only to discover I already had that color at home. Enter technology!

PDX Stitch has a Floss Inventory template that works perfectly for me. I spent about an hour entering which colors I owned (by just putting a 1 in their appropriate cells). Then when I want to get started on a new project, I’ll just type in the color numbers onto the Availability Checker, and the inventory sheet will tell me which colors I have and which I still need.
Find a Similar Color in Your Stash

I normally like to use the exact colors that the designer recommends. But if you don’t have all the needed colors, try out Thread Bare’s Closest DMC Thread Color Lookup Tool. It will not only give you options for colors, it will show (roughly) what those options will look like. Maybe you can find a similar color in your stash, so you can get started on your project more quickly and inexpensively.
Lap Frames Are Wrist-Savers
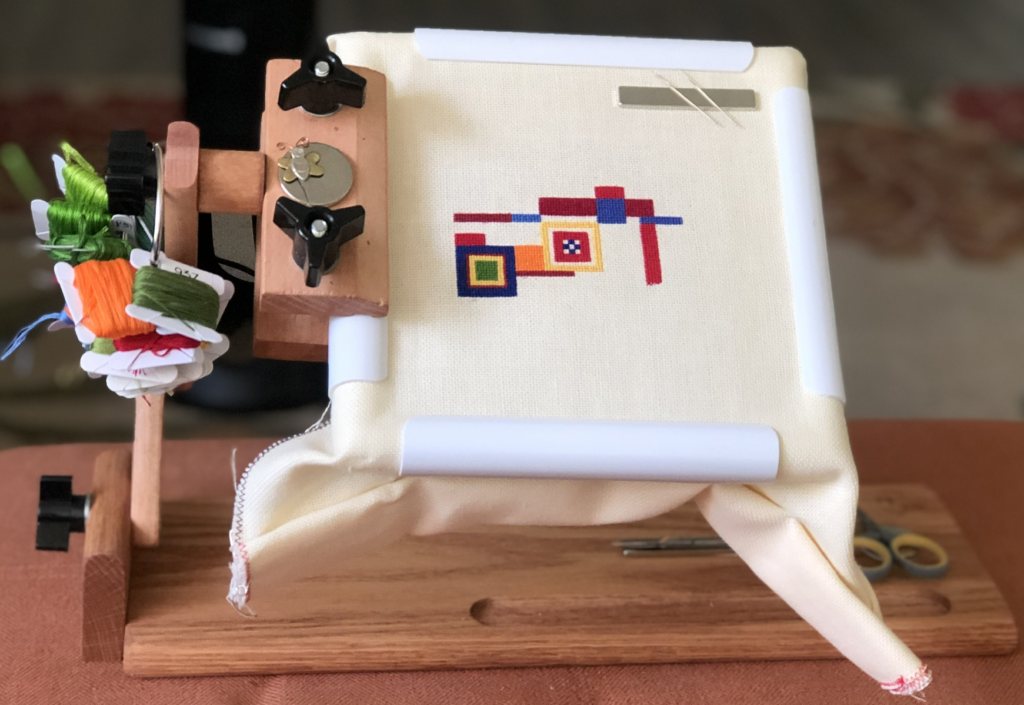
I used to get a cramp in my left wrist from holding my hoop. Not any more. I now use the $57 Ks Creation ZFCL Z Lap Frame with Clamp. It sits easily in my lap, and it holds my Q-Snap along with my rechargeable book light. To get to the back side of my project, I just need to loosen one of the nuts, and the project easily flips to the back. I like that it can fold just about flat for travel, too.
Light the Way

As I move through my middle years, my eyesight isn’t quite what it used to be, so I need more light to cross stitch than I used to. Since I like stitching while watching movies or TV, I don’t want to have bright overhead lights on. And the Ottlite I purchased sometimes would be annoying for family members who were watching TV with me. Then I found this amazing little, $14 lightweight light (Vekkia Rechargeable LED Book-Light) that clamps to my cross stitch stand, Q-Snap or hoop. The description says it stays charged for 60 hours, though my mileage has varied from that; I usually plug it in at the end of every evening of stitching.
Grid Your Fabric
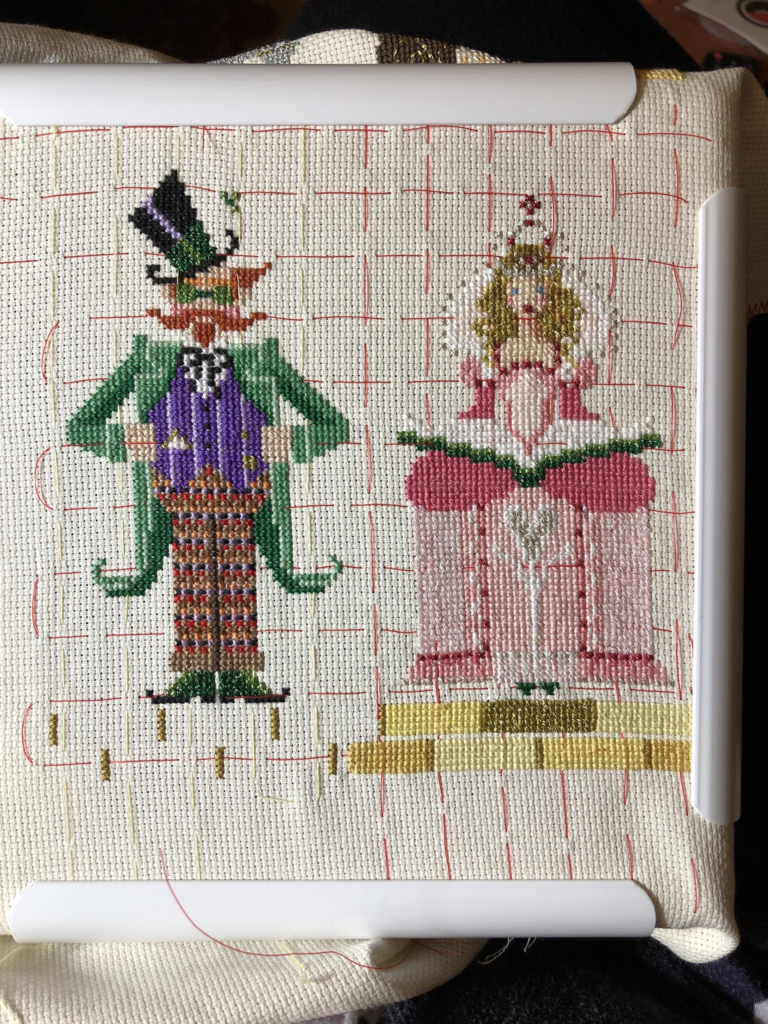
When I first started cross stitching in my teens, I had no trouble at all keeping track of where I was on a chart. I never even would mark my progress. Fast forward a few decades, and life changed. I’m not quite sure why, but it became harder to put a project down and then know where to start back up the next time. Yes, there have always been 10×10 gridlines on most charts, but not on the fabric.
If I want to do a project on white or ecru Aida cloth, I now purchase pre-gridded fabric, like this Zweigart 14-count Gridded Aida or DMC Aida 18-count Magic Guide Gridded Aida. My 10×10 squares are visible in a light red, and this red washes out in warm water when I am finished with the project.
If I want to do a project on a different type of fabric (like Lugana or linen) or a color other than white or ecru, I will grid my own fabric. This takes a LOT more time than using the pregridded fabric, but saves time in taking out stitches that I have accidentally put in the wrong place. For directions on gridding your own fabric, see Peacock & Fig’s blog posts. NOTE: Do not ever use regular pencils for gridding; they rarely erase 100%. (Trust me on this.)
Starting & Ending Your Floss
Another game changer for me when I started back crossing stitching again after a few decades away is this: there are new ways to both start and end your floss! (The old style way to start was to leave a short tail behind as you brought your needle through the fabric, then do your best to catch this tail as you made your Xs. The old style way to end was to bring your needle through to the back, flip your hoop, and then run your needle under a few stitches to secure the floss before snipping it off.)
To start and end floss, I now use the loop start and pin stitch end. The video below shows how these work quite well:
Protect Your Edges from Fraying
After you have been stitching for a bit on your fabric, you will likely notice that the edges of the fabric will begin to fray. You have a few options to help avoid the fraying:
- Use your sewing machine to zigzag all four sides
- Use Dritz Fray Check
- Use painter’s tape (not duct tape, as it’s too sticky and will leave residue)
Leave Room
When using your own cloth (not cloth from a kit), be sure to cut it so that you’ll have about 3″ (~8 cm) on all sides of the design. This is for two reasons:
- To attach your Q-Snap or hoop and have enough room so your stitches aren’t uncomfortably close to the sides
- To have room for framing
If you use the DMC Floss Inventory Template I recommended earlier, there’s a Chart Size Calculator for various thread counts on the second tab. I use this ALL the time.

For Digital Patterns, Use Your Tablet
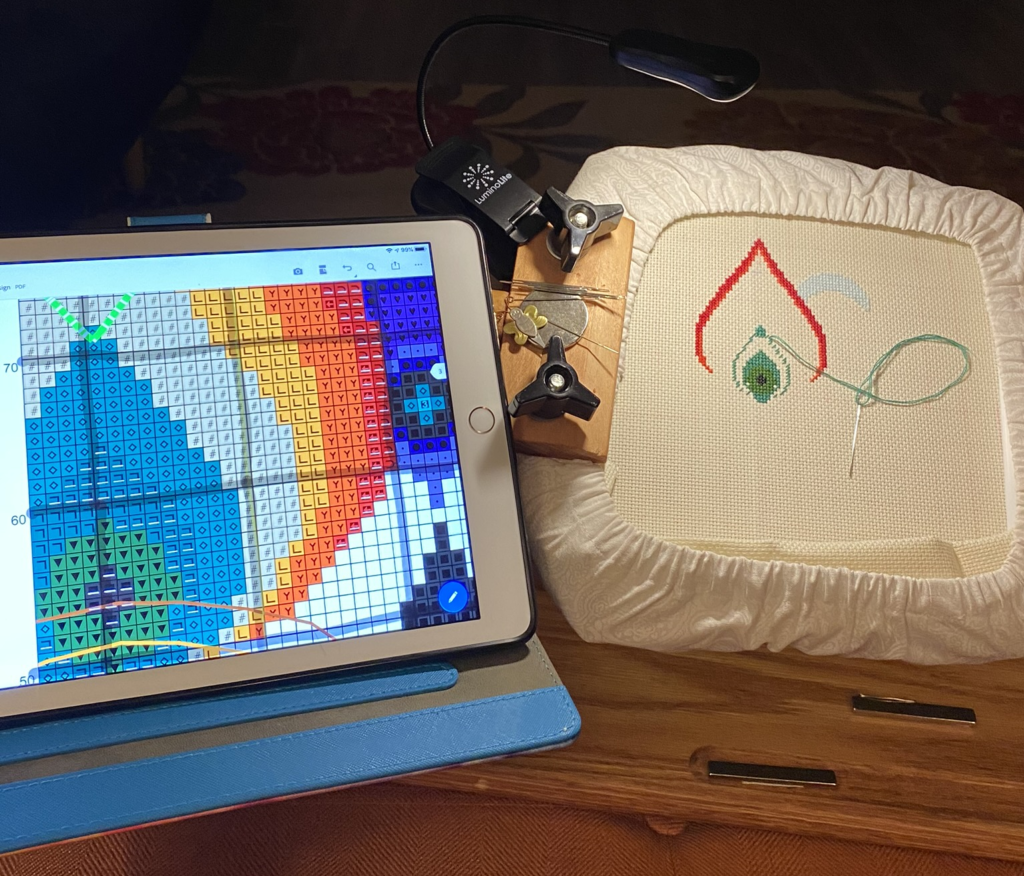
I used to be a paper kinda gal when it came to my patterns. Not any more. I love being able to always have my patterns with me, wherever I go. And even better, I can zoom in on the pattern to make it super-easy to see the design. I can even cross off the sections I have completed.
There are lots of apps out there for using your patterns on your tablets; see Lord Libidan’s blog post for suggestions. I’ve tried several of them, but keep going back to good old Adobe Acrobat.
Sometimes the grid lines don’t show up as clearly as I like, so I just use Adobe Acrobat’s highlighter feature to draw them in on my own. It’s not pretty, but it works great.
In Closing
I hope you found some of these tips helpful. What other suggestions do YOU have for making your cross stitching more enjoyable? I’d love for you to share them in the comments.
